

understanding
fragrance notes
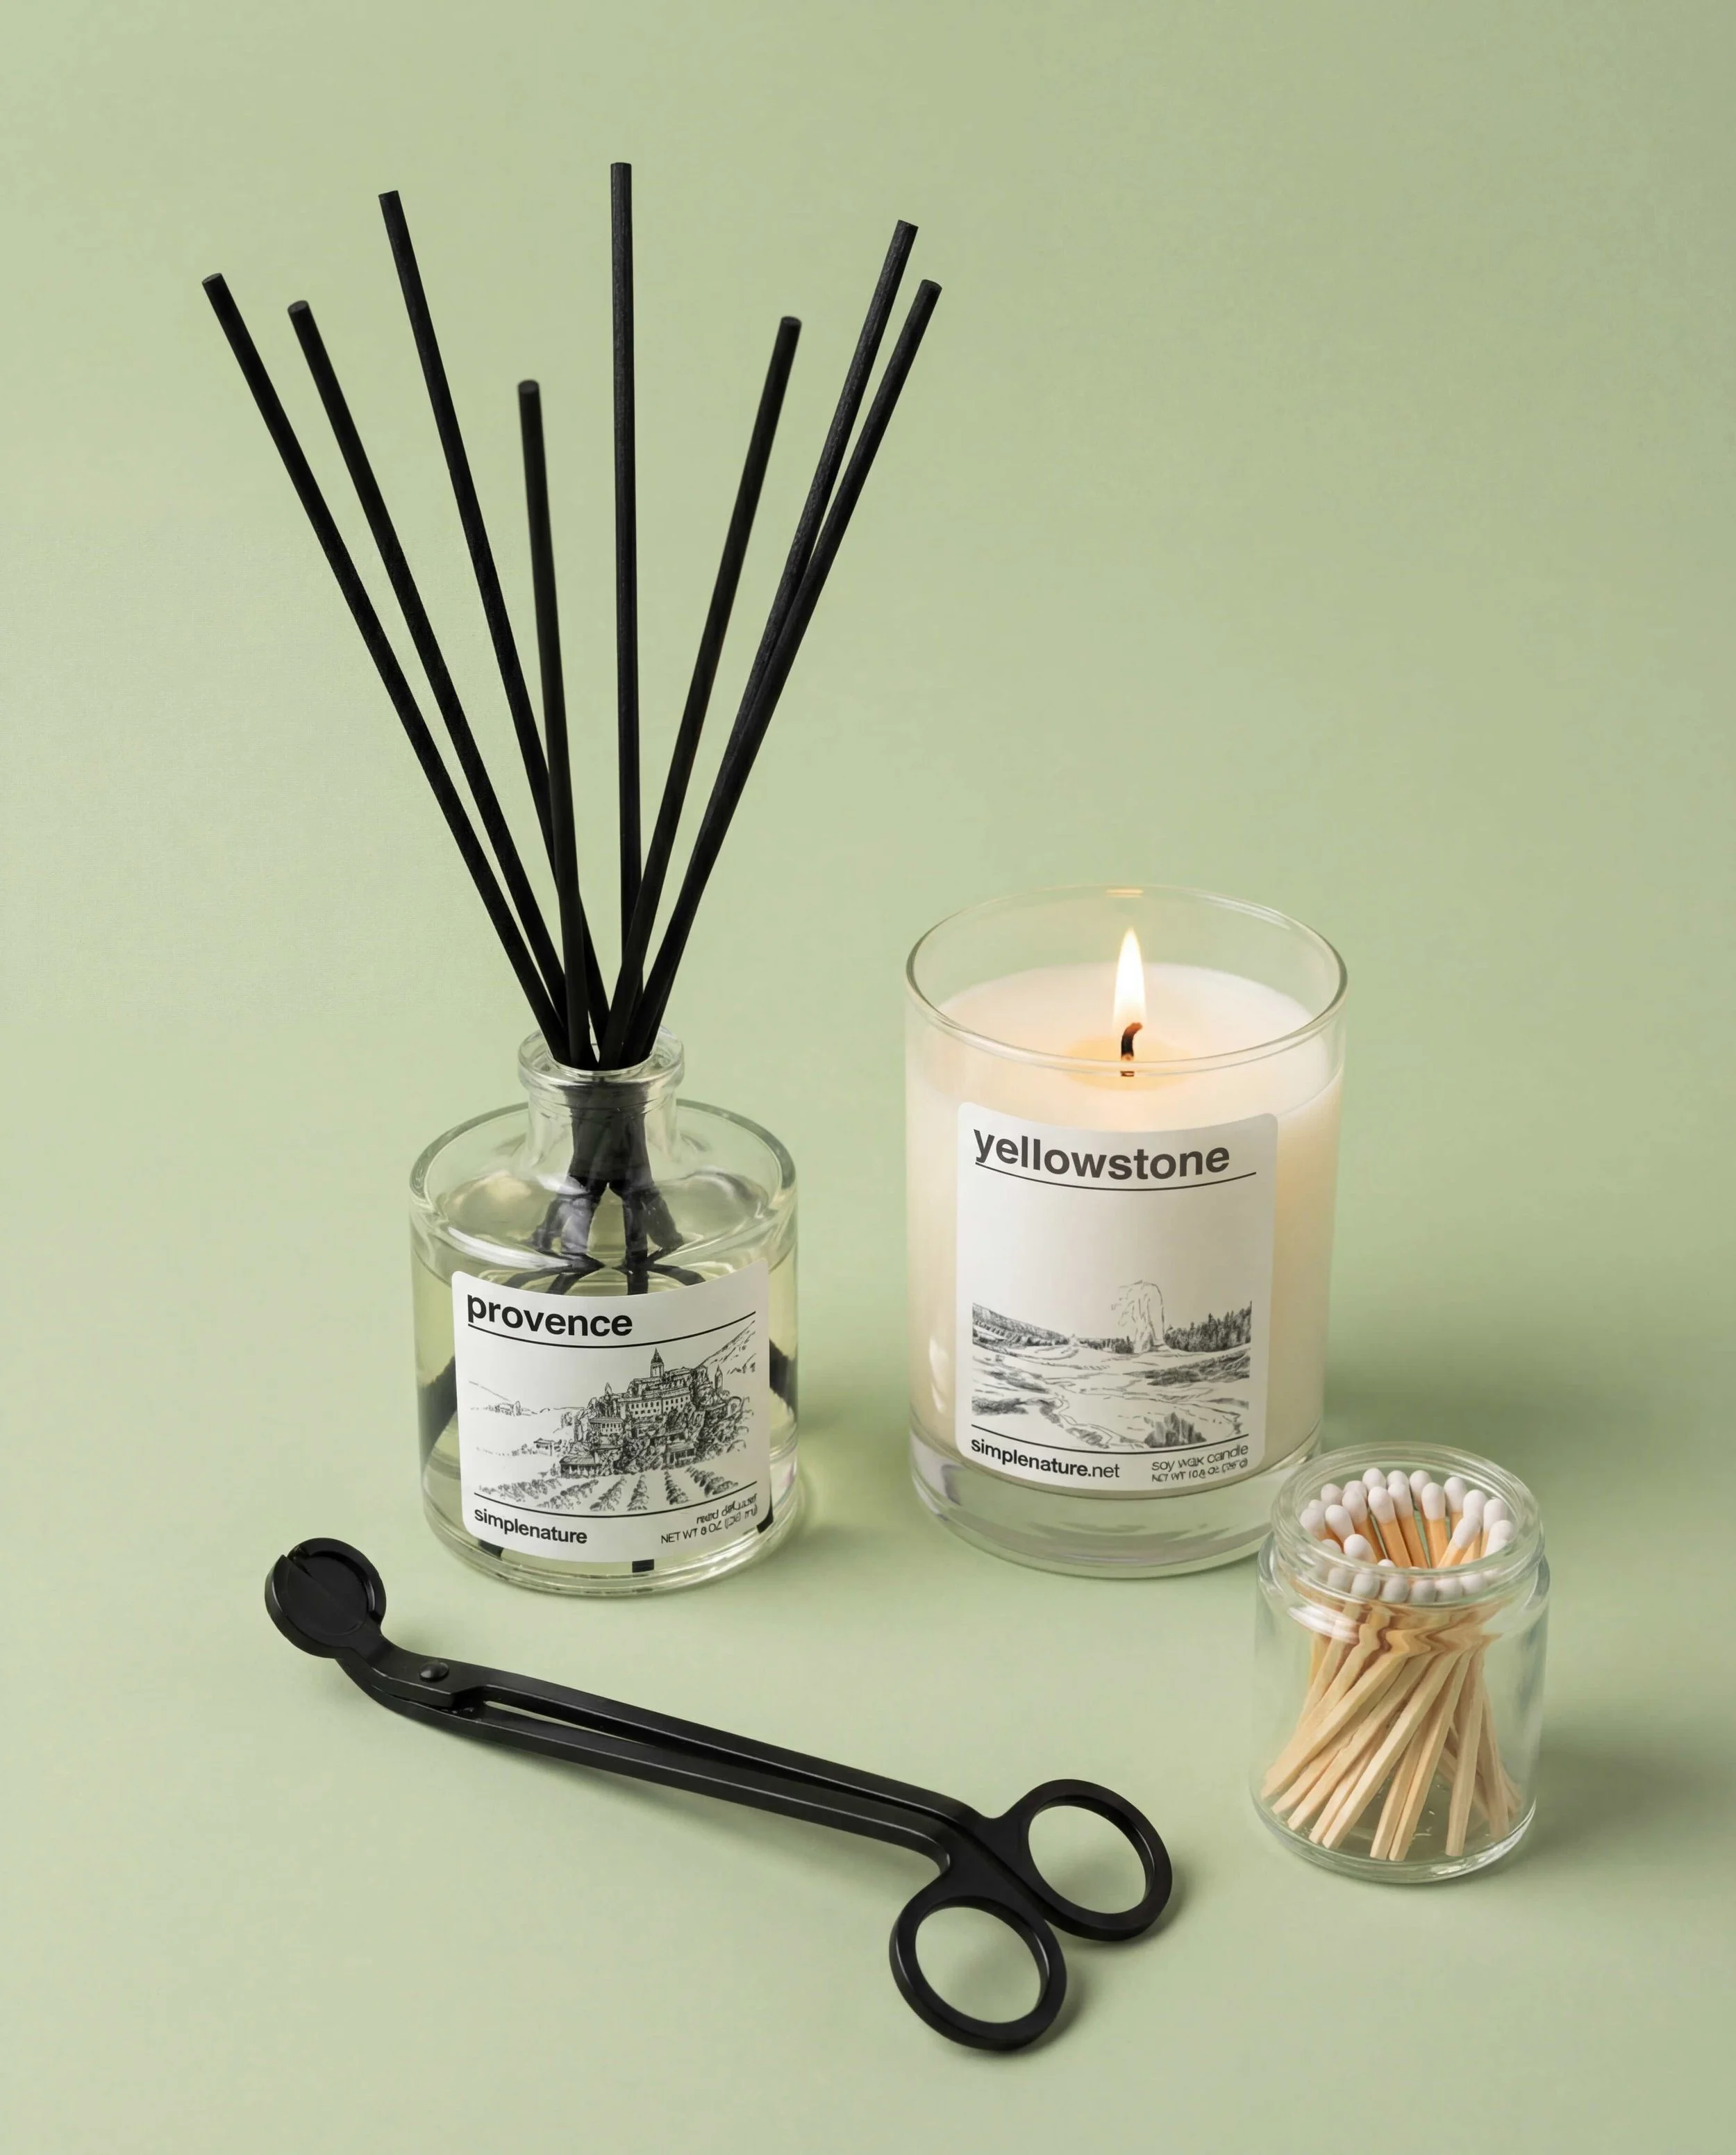
Candles aren’t just wax and flame. They’re stories told through scent.
Each fragrance is built in layers, much like a piece of music:
The first impression. These are the light, fleeting scents you notice when you lift the lid. They arrive quickly and fade just as fast.
Top Notes
Middle Notes
Often called the heart. These emerge once the candle begins to burn, shaping the true character of the fragrance.
Base Notes
The foundation. Deep, rich, and long-lasting, these notes linger in the air and stay with you even after the flame is gone.
cold throw
The scent of the candle before it’s lit. Subtle, but a preview of what’s to come.
hot throw
The fragrance released while the candle burns. For the fullest experience, allow the wax to melt evenly across the surface—this is when the scent truly comes alive.

how to burn a candle
tips and tricks to get you a longer burn for your new candle.
-
Each time you want to burn your candle, start by trimming the wick to between 1/8 and 1/4 inches long. You can use scissors, nail clippers (that's my personal favorite), or a wick trimmer but no matter what you do, always trim, every single time.
Why every time? Trimmed wicks will give you a cleaner, brighter burn. Untrimmed wicks are a lot more likely to take on a strange shape that dulls and obscures the flame. Also, excessively long wicks cause nasty smoky stains that end up on your glass jar candles - not a problem with our tin candles however trimming the wick keeps the flame in control.
-
Once your candle's lit, DON'T blow it out until the top layer of wax has melted all the way across. This might take several hours so don't set out to burn a candle at all unless you've got the time to do so. This is also called candle memory.
Whenever you fail to achieve full melt, you're contributing to a process called tunnelling. The wick starts to sink lower and lower, like a tunnel is forming right through the center of the candle. Eventually, the tunnel will grow so deep that it'll be tough to light the wick at all. More importantly, all that unmelted wax on the sides represents hours of lovely fragrance and burn time you bought but won't ever get to utilize.
It takes patience, but if you melt the wax all the way across every time you burn, the surface of the candle will stay flat and the sides of the jar will stay clean, all the way down until the candle is spent.
-
If you burn your candle for more than 4 hours at a time, carbon will collect on the wick, and your wick will begin to "mushroom." This can cause the wick to become unstable, the flame to get too large, your candle to smoke, and soot to be released into the air and around your candle container.
-
Do your best to keep your burning candle away from open windows, fans, air conditioners or heavily trafficked areas where people walk back and forth a lot. Moving air can disturb the flame, which can also stain the tin or jar, and can give you tunneling and other issues.
-
This is probably one of the most important steps that people miss.
You’ve probably noticed that when you blow out a candle, it smokes – sometimes a lot. That’s because the core of the wick continues to burn for a short time, the inside of the wick can turn to carbon (ash), making it brittle and the candle hard to light the next time.
Then there’s the smell. After allowing a fragrant candle to burn, why wipe out all that beautiful scent with the smell of smoke? It can be dangerous, you could accidentally blow some of the melted wax right off of the candle.
How do you dip a wick? You can use anything from tweezers to a knife. After you extinguish the candle, prop up the wick, pulling it out of the wax so it’s ready to light next time.
-
You’re reading how to properly burn a candle. You’re most definitely a candle connoisseur. There is no maintenance section just a discount code for you. Use code “connoisseur” at checkout for 15% off.

fix A tunneling candle
tunneling is when the wax burns down the middle leaving a ring of unused wax around the edges, it’s frustrating but it’s fixable.
-
You’ll need:
A candle snuffer or lighter
Aluminum foil
A butter knife or spoon
Optional: hair dryer or heat gunWhy every time? Trimmed wicks will give you a cleaner, brighter burn. Untrimmed wicks are a lot more likely to take on a strange shape that dulls and obscures the flame. Also, excessively long wicks cause nasty smoky stains that end up on your glass jar candles - not a problem with our tin candles however trimming the wick keeps the flame in control.
-
Make sure the wick is about ¼ inch (6 mm) long.
A wick that’s too long can burn unevenly; too short can fail to stay lit.
-
This is the safest, most effective method:
Take a piece of aluminum foil large enough to cover the candle top.
Fold it into a tent shape, leaving a small opening above the wick.
Place the foil over the candle so it covers the tunneled wax edges.
Light the candle.
What happens: The foil traps heat and softens the hardened wax around the tunnel.
-
Allow the candle to burn until the top layer of wax is fully melted to the edges (this may take 20–30 minutes depending on size).
Avoid blowing out the candle too early—this defeats the fix.
-
If some edges remain hard, carefully push the softened wax toward the center using a butter knife or spoon.
Be gentle to avoid spilling wax or burning yourself.
-
Always burn candles long enough for the entire top layer to melt the first time (usually 1–2 hours).
Keep wicks trimmed and avoid drafts while burning.


What if I can’t smell anything at all?
Nose blindness, or olfactory fatigue, is a real phenomenon! The longer we’re exposed to the same scent, the more our body tunes it out. When visiting a friend’s home, you’ll pick up on odors they’ve become accustomed to and can no longer perceive. Our body does this to prevent us from becoming overwhelmed by the various scents in our environment—if we could always smell every aroma surrounding us, it would be difficult to think about much else!
If you’re having trouble smelling a scent that you’re already familiar with, olfactory fatigue could be the cause. Reset your senses by taking a few minutes away from the fragrance and smelling the neutral aroma of your own skin. We often smell the inside of our arms or the “elbow pit” to give our noses a reset when we evaluate candles.
And resist the urge to use coffee beans for this purpose! Remember those department store perfume counters lined with canisters of coffee beans? There’s actually no scientific backing to support the notion that they help reset your senses. The coffee bean perfume counter myth was so pervasive that researchers from Beloit College published a study on it. So while coffee beans don’t seem to negatively affect olfactory fatigue, they also won’t help.